
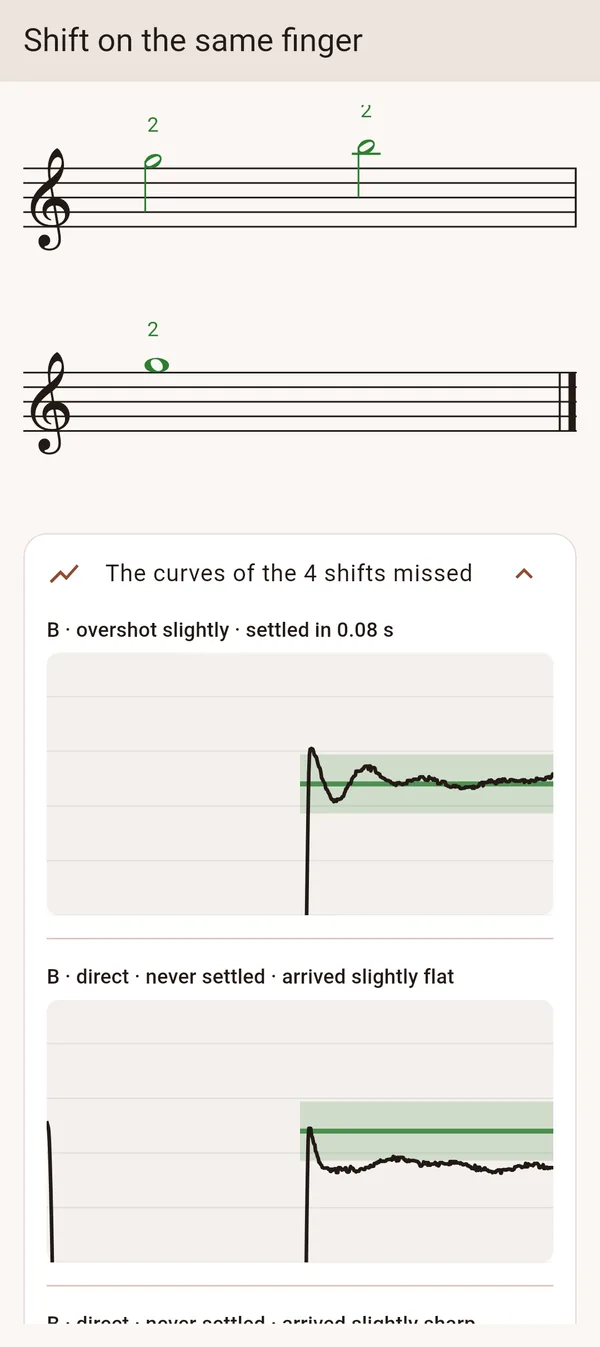
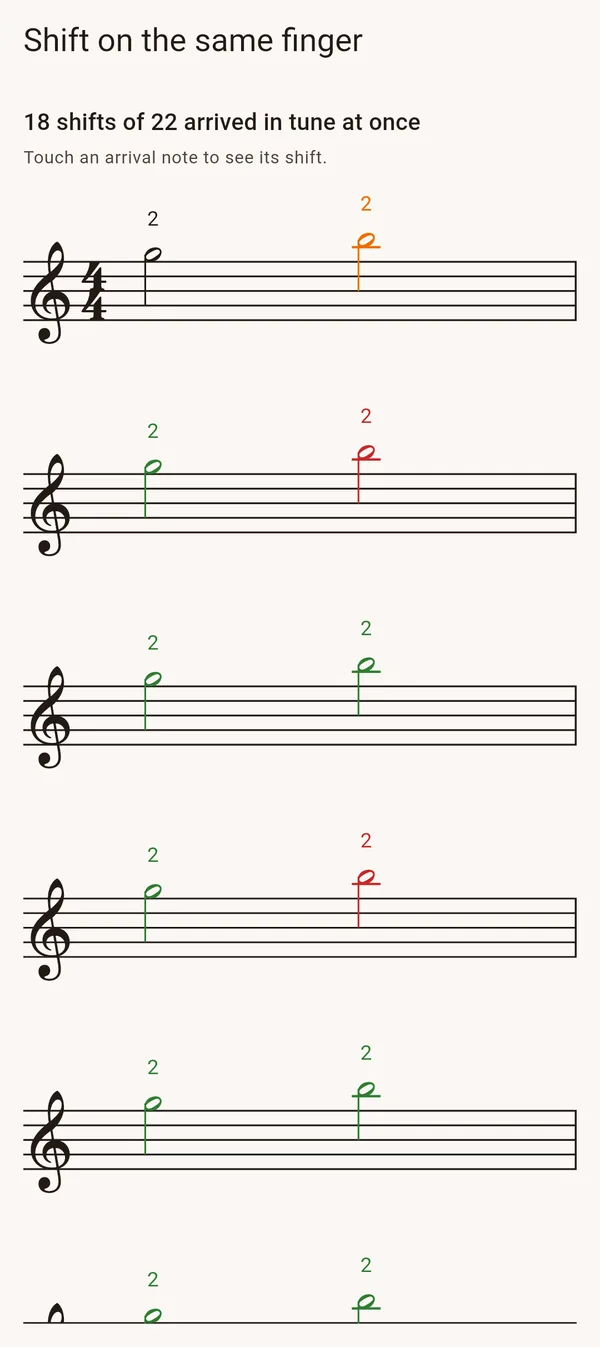
What the curve tells you
- Whether you arrived in tune at once, or after a correction
- Whether you overshot the note, by how much, and how long you took to settle
- Whether you arrived flat or sharp without correcting
- Whether the glide is heard: it should be in some exercises, and stay discreet in the others
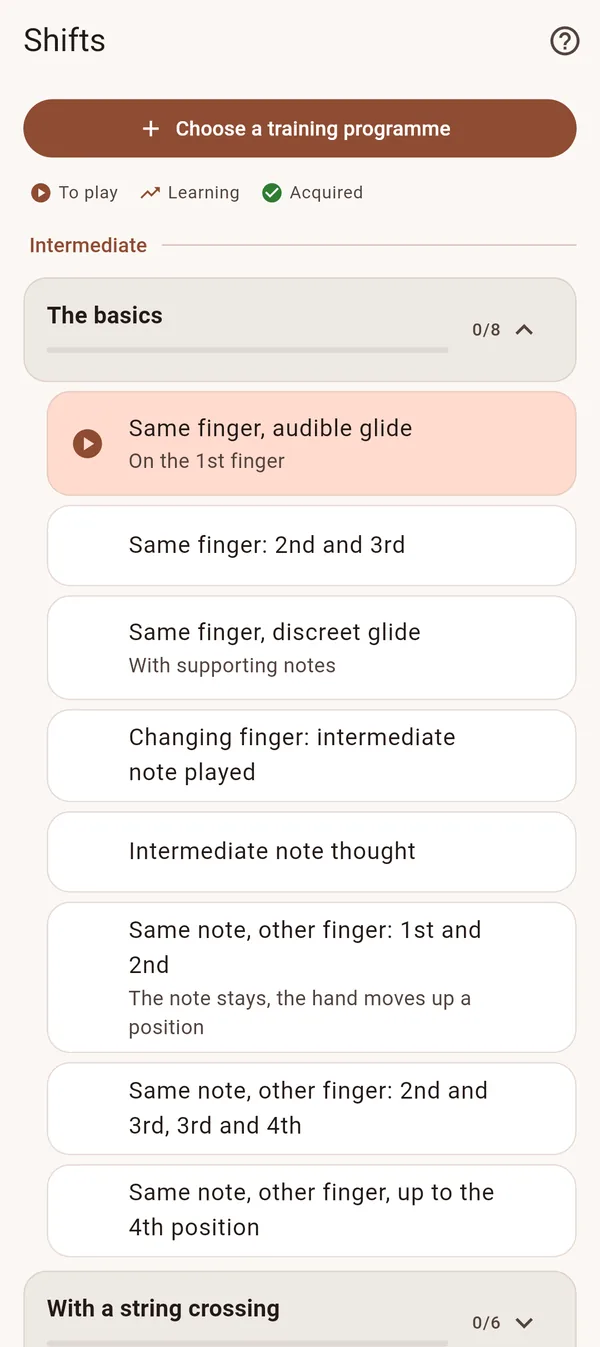
A shifting programme step by step
The shifts programme starts at the intermediate level and goes from the shift on one finger to every distance:
- On the same finger, with an audible glide, then a discreet one
- Changing finger, with the intermediate note played, then only thought
- The same note with another finger: the hand changes position, the note does not change
- With a string crossing, then scales on one string and chained shifts
- Every distance, up and down, at the advanced level
Positions first
The positions programme takes you into the third, second, fourth and fifth positions, with harmonics as landmarks, so that you already know the position you arrive in.
Read the guide: Shifting from first to third position
Questions
How do I practise shifting on the violin?
Slowly, on one finger first, with an audible glide so you hear the distance, then with less and less glide. Check the arrival note against an open string or a harmonic, or let an app draw the curve of each shift.
How do I shift from 1st to 3rd position?
Release the pressure of the finger, move the whole hand and the thumb together, and stop when the finger has arrived; do not reach with the finger alone. The first stages of Avilo's shifts programme train this movement, on one finger, between first and third position.